Birds are lovely animals to have around, howeer, finding enough food during winter may be tricky. But, finding food throughout the spring and summer months is much simpler. Being surrounded by birds and their chirping in your garden in any season is lovely and stunning.
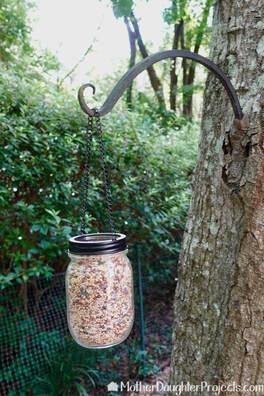
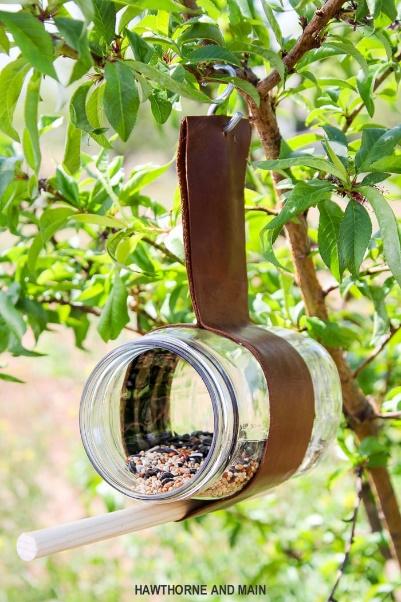
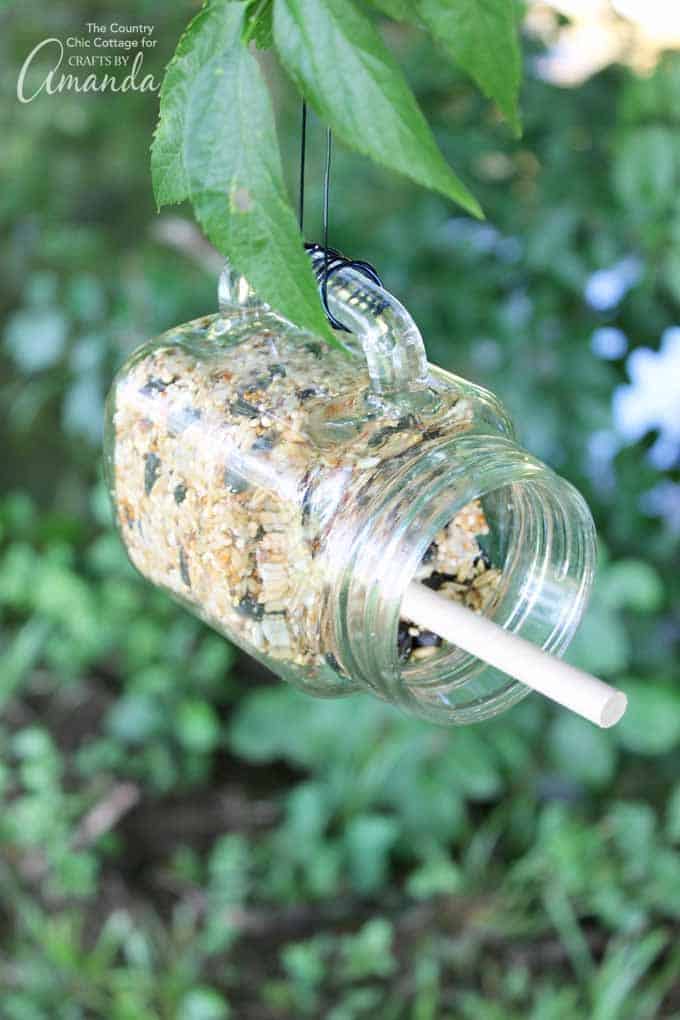
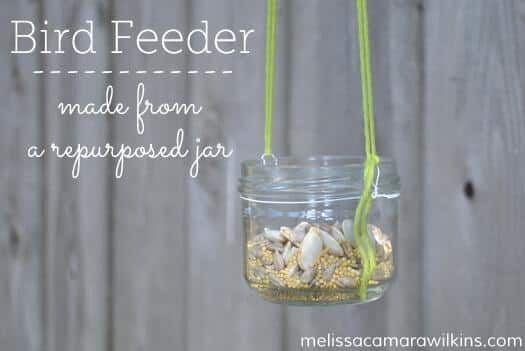
As a result, we will have fun and strengthen our children family and friends relationships to nature while learning how to attract colorful birds to our gardens using an upcycled Sea Moss Gel plastic jar turned bird feeder.
Materials
Directions
You and the birds will benefit from your lovely bird feeder, as happy birds will gather around the recycled bird feeder you just created in your garden and sing joyfully as the birds enjoy their meal. The birds will also aid in reducing the number of those awful garden pests. Merrymaking!
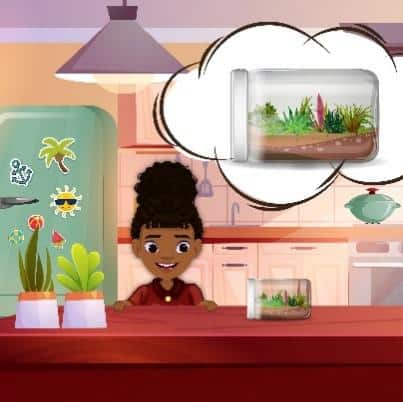
An excellent approach to protecting the environment and giving objects such as plastic a second life is upcycling. Upcycling is a simple craft that saves money and the environment by reducing the waste sent to landfills. This DIY for a recycled greenhouse Sea Moss gel jar planter will make your family happy, breathe new life into your house, and benefit the environment.
Materials
It’s a good idea to gather all of your supplies before beginning this DIY!
Instructions
To build a greenhouse, adhere to these simple steps:
Once the container is clean, carefully cut drainage holes around the base of the container’s bottom, about half an inch wide (the size of a pencil, for example). Depending on the size of your container, there will be a range of holes.
This DIY jar planter will be a terrific idea for beginners who want to start gardening but do not have a place. Even though you’ve seen a lot of jar gardens, thoughtful crafts never grow old, and you still get a kick out of making them.
Happy gardening!
Real science, real history and whole truths. We help you cut the noise and get the real facts about Sea Moss. Get access to scientist studied diets, documented research. We are transparent about our sources, studies, and suppliers. So you get essential vitamins and daily minerals plus peace of mind knowing we have a secure farm to fridge supply chain.
Daily intake of Sea Moss Gel is 1 tablespoon per day for the first 7 days of your first week taking sea moss gel. This helps your body adjust to the nutrient intake. For the second week you take 2 tablespoons per day.
You can add sea moss gel to coffee, water and or juice or take it by the spoonful.
You can add sea moss gel to smoothies by blending 1-2 tablespoons. We have a list of delicious and nutritious smoothie recipes to try.
Sea Moss Gel can be used in desserts as a thickener. For example, puddings, gelatin like desserts, jam and more. It has even been used in dairy free natural ice creams.
Sea moss has a long history worldwide of being used for purported nutritional and medicinal benefits. The oldest evidence points to the use of sea moss in Chinese medicine as far back as 600 B.C., and by 400 B.C., it had become a standard food source across the British Isles.
Sea Moss is a SUPERFOOD!
A superfood is “a food (salmon, kale, beans, nuts or blueberries) that is rich in compounds (such as antioxidants, fiber, or fatty acids) known to be beneficial to a person’s well-being,” according to the Merriam-Webster Dictionary. The title “SUPERFOOD” is typically reserved for all natural foods that are exclusively nutrient-dense and low in calories.
Most Superfoods help promote our overall general health by increasing our immune function and the way the body functions while decreasing your chance of disease progression.
Superfoods are linked to promoting personal health and wellness or preventing disease and sickness.
We take pride in our product and know that it will surpass your expectations. If after 30 days, you take the product and don’t feel a difference, you can return the jar, along with answering 2 questions and we will refund your money. No questions asked. We are providing a solution for lifestyle improvement, not just trying to sale a jar. If this doesn’t align with your goals, we completely understand. See our Empty Jar Policy Here.
Neptune Sea Moss Gel can be purchased on subscription to support your health goals. We offer discounts for 3, 6, 9 & 12 month subscriptions along with perks for those in our subscription community, such as free luxurious sea moss soap, free sample jars of sea moss to share with family & friends and first notification of new products rolling out on a seasonal basis.
We take great pride in serving our community, and believe nutrition and health shouldn’t be overpriced! Want to save even more? Purchase our 3 month Subscription to get 20% off and receive a Free Gift: A 16oz jar for family or friends.